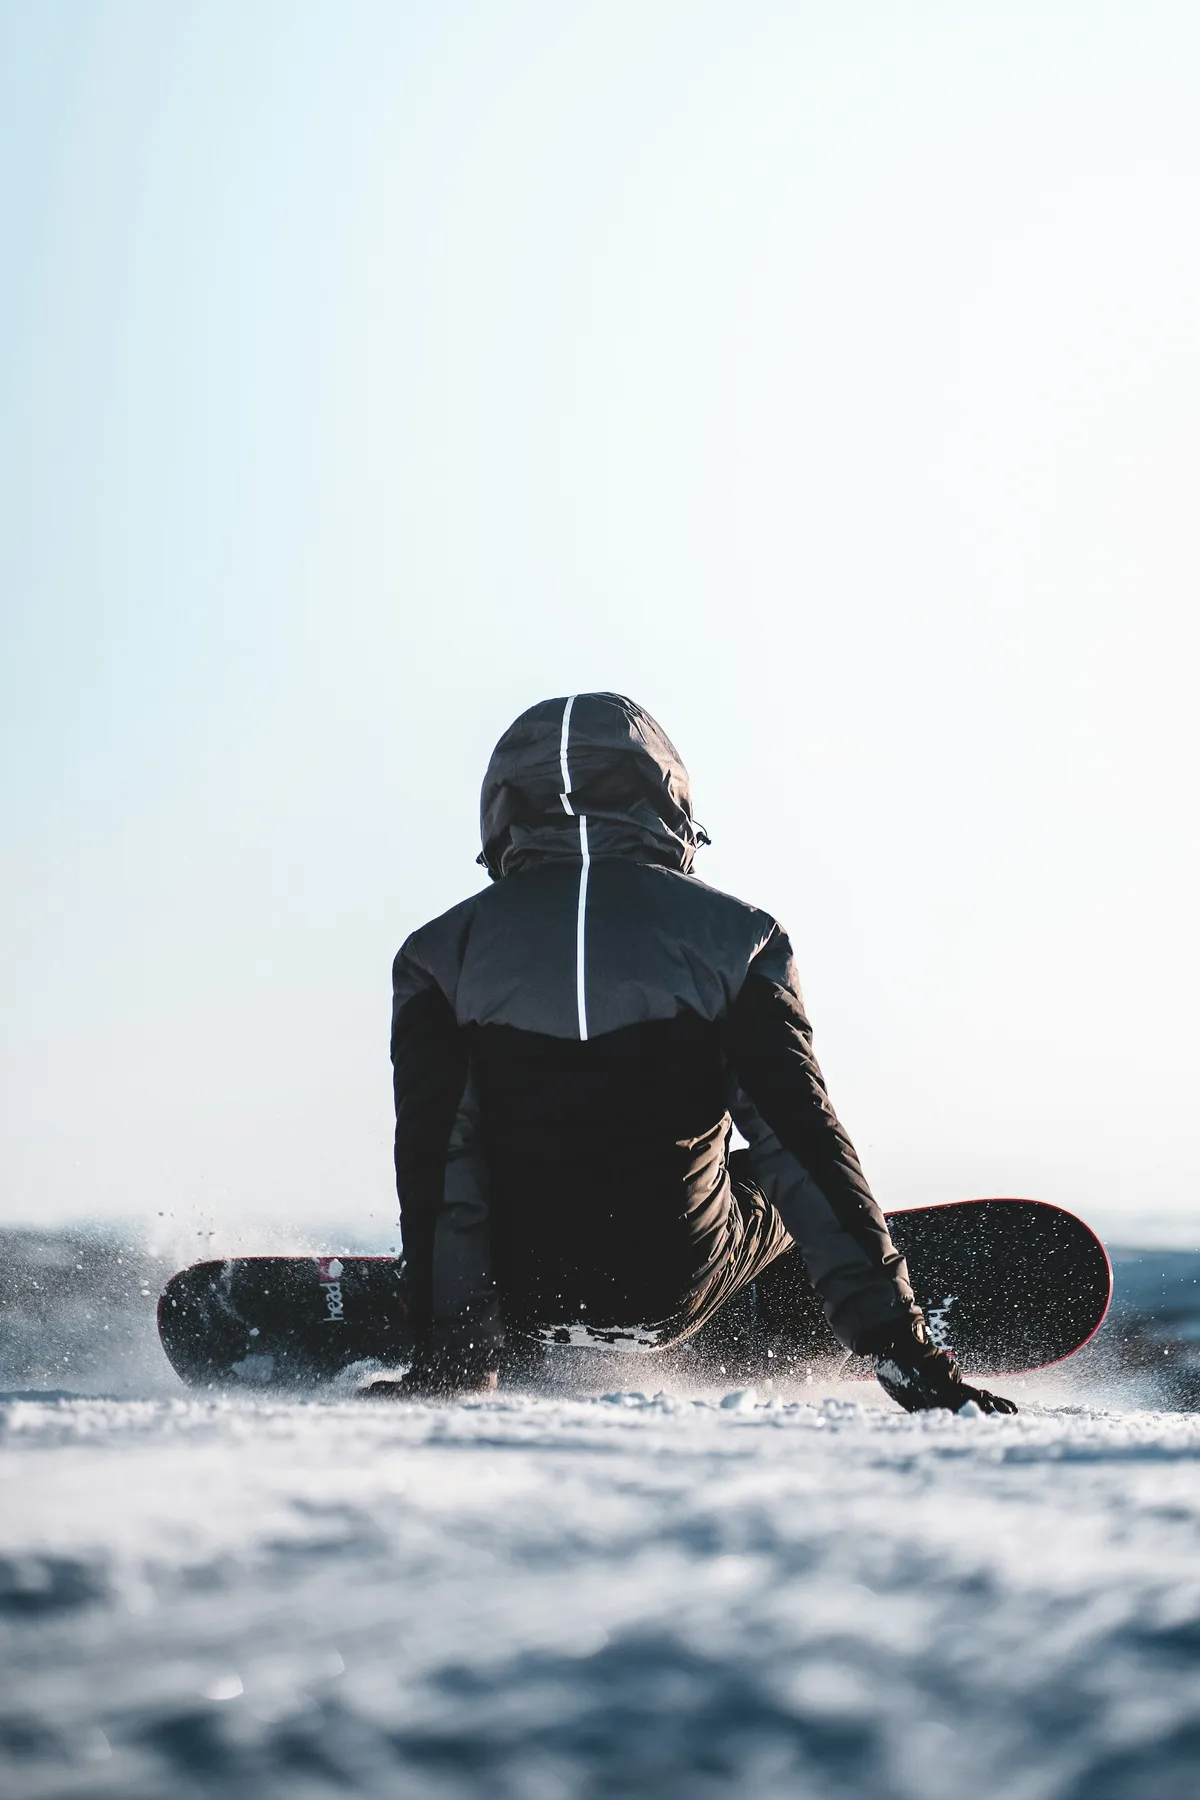
Your first snowboard lesson is about small wins: moving on flat ground, stopping deliberately, and getting comfortable with both feet on one board. Don’t judge the day by how many runs you finish. Building control on gentle terrain gives you something to use on every run afterward.
What your first day feels like
Expect short bouts of practice, plenty of stopping, and time getting used to moving with a board attached. A lesson should give you manageable tasks on gentle terrain. Dress for contact with snow and take breaks as you tire; there is no benefit to finishing the day exhausted on a run you cannot control.
Wear a properly fitted snow-sport helmet and ask your instructor about suitable wrist protection and learning to fall. Protective equipment can reduce some risks but cannot prevent every injury. Tell the instructor about pain or fatigue rather than pushing through another run.
Why start with a lesson
A qualified instructor can choose suitable terrain, check your stance, and help you work through skills in a sensible order. That leaves you free to concentrate on the movement you’re learning instead of wondering what to try next.
Friends can make practice more enjoyable, but riding well and teaching beginners are different skills. Arrange time together after the lesson on terrain you’re comfortable using.
Rent or buy: what to do with gear your first season
The sensible approach is to rent most of your gear for the first season, then buy once you know you will stick with the sport and understand what you like to ride. Renting lets you try snowboarding without a significant upfront cost, and a rental shop will size a board and bindings correctly for you, which is one less thing to get wrong while you are learning. There is no reason to spend hundreds of dollars on a board before you know whether you will love it or which style of riding suits you.
Boots are worth extra attention whether you rent or buy. Tell the rental shop if they hurt, your toes feel cramped, or your heel moves excessively. Once you know you want to keep riding, your own well-fitting boots may be a useful first purchase. The snowboard boot guide explains fit and flex.
Before your first lesson
Check what the booking includes: lesson, rental equipment, helmet, and lift access may be separate items. Confirm the meeting point and allow the arrival time the ski school recommends for fitting equipment. Trying to find boots while the lesson is starting is an avoidable way to begin the day stressed.
Tell the rental staff you’re a first-time rider. Wear your intended riding socks for the fitting, then walk and flex in the boots before leaving the shop. Ask about any painful pressure immediately. Check that your gloves let you operate your jacket and that you can sit and reach your boots in your pants.
Arrange an easy meeting point with friends afterward. Make the plan depend on how the lesson goes rather than promising to meet them at a summit restaurant you may not be ready to reach.
Regular or goofy: which foot leads
Before you ride, you need to know which foot goes forward, because a snowboard is ridden sideways with one foot leading. Riding with your left foot forward is called regular; riding with your right foot forward is called goofy. Neither is better or more common in any way that matters, and goofy is not unusual; it is simply which feels natural to you. Getting this right from the start saves you fighting an awkward stance for days.
If you’ve ridden a skateboard or surfboard, tell your instructor which foot you put forward. It may be a useful starting point. Try the stance with their guidance on suitable flat terrain rather than assuming you must settle it before the lesson.
The first skills, in order
Snowboarding instruction follows a logical progression, and learning the skills in the right order is what makes the difference between steady progress and flailing. Each step builds on the one before it.
Skating and gliding
First you learn to move on flat ground with only your front foot strapped in, pushing with your back foot like a skateboard. This is how you get around lift lines and off the chairlift, and it teaches you to balance on the board before any real speed is involved. It feels clumsy and that is normal.
Strapping in, standing up, and sideslipping
Next, with both feet strapped in on a gentle slope, you learn to stand up (harder than it sounds the first few times) and to sideslip: facing across the hill, you use one edge of the board to slide straight down in control, feathering the edge to speed up and slow down. Sideslipping builds edge control on suitable learning terrain. It is not a reason to attempt a steeper run before you can turn and stop there.
The falling leaf
From sideslipping you progress to the falling leaf, where you shift your weight to slide diagonally one way, then the other, drifting down the hill in a zig-zag on a single edge without committing to a full turn. It looks like a leaf fluttering down, hence the name. This builds the directional control and confidence you need before turning, and it is the point where many beginners start to feel in control for the first time.
The J-turn and linking turns
The J-turn is your first real turn: starting straight down the fall line and turning across the hill until you stop, tracing a J shape. Once you can J-turn confidently in both directions, you learn to link turns, connecting a turn on your toe edge to a turn on your heel edge in a continuous, flowing run. Linking turns is the milestone. It is the moment snowboarding stops being a series of controlled slides and becomes actual riding, at a pace that varies from rider to rider.
Setting your expectations
Progress varies. Take breaks before fatigue makes control harder, and practice the skills your instructor has introduced on suitable terrain. Moving on when you’re comfortable stopping and controlling your direction is more useful than trying to meet a three-day deadline.
Frequently asked questions
Is snowboarding harder to learn than skiing?
Some people find the sideways stance and linked feet unfamiliar at first; others take to it quickly. Lessons, practice, fitness, and previous experience all affect the pace. Choose the sport that interests you rather than relying on a promise that one is easier to master.
Should I rent or buy gear when learning to snowboard?
Renting is a useful way to try the sport before buying a full setup. Ask the shop to address boot-fit problems rather than putting up with pain. Once you know you’ll keep riding, well-fitting boots can be a sensible first purchase, followed by a board and bindings suited to your progress.
What should a beginner snowboarder wear and bring on the first day?
Wear a waterproof jacket and pants (you will be sitting in snow constantly), warm gloves or mittens, a moisture-wicking base layer, and warm socks. Bring or wear a helmet, goggles, and, importantly, wrist guards, since wrist injuries are the most common beginner snowboarding injury. Impact shorts with padded hips and tailbone also save a lot of pain on day one. Avoid cotton, which stays wet and cold. Sunscreen and a small snack help too, because the first day is more tiring than people expect.
Your first days on the board
Book a lesson, get comfortable equipment, and give yourself time on gentle terrain. Your first controlled stop is progress. So is knowing when you’re tired enough to take a break. When you’re ready to buy equipment, start with boots that fit and build from there.
This guide is general instruction, not a substitute for a qualified snowboard instructor or for following the safety guidance at your local mountain. If you find an error in this guide, please email corrections@slopehound.com.